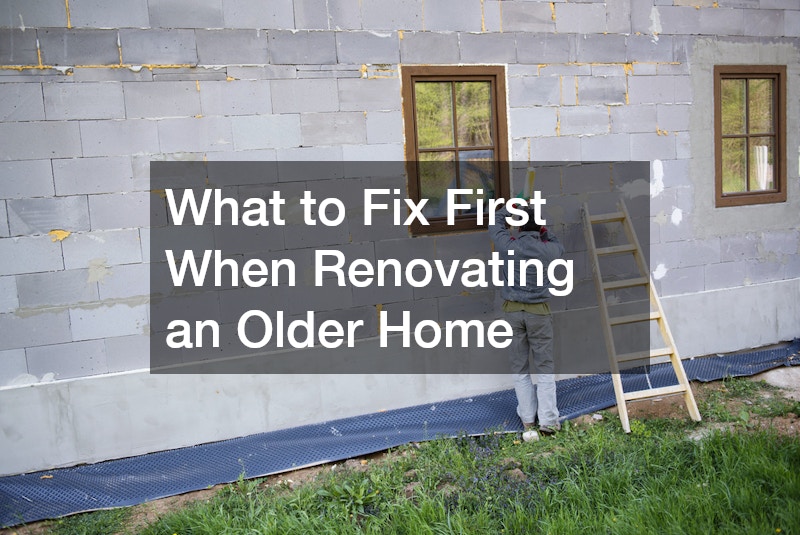
Renovating an older home can feel like stepping into a story that’s still being written. There’s character, craftsmanship, and history—but also hidden issues that don’t always reveal themselves right away. One of the biggest mistakes homeowners make is jumping straight into cosmetic upgrades without addressing deeper problems first.
A thoughtful renovation isn’t just about making a home look better—it’s about making it safer, more efficient, and built to last. Knowing what to fix first can save you time, money, and frustration down the line.
Start With a Full Property Assessment Before Any Work Begins

Before you swing a hammer or pick out finishes, you need a clear understanding of what you’re working with. Older homes often come with surprises—some minor, others potentially expensive or even dangerous.
A professional evaluation provides a roadmap. This isn’t just a formality—it’s your foundation for every decision that follows.
One of the first professionals to bring in is a land surveyor. Property lines may have shifted, grading may be off, or previous additions may not align with original boundaries. These issues can affect everything from drainage to permitting.
At the same time, it’s wise to schedule an inspection with a local pest control company. Older homes are especially vulnerable to termites, rodents, and other pests that quietly damage wood, insulation, and even wiring over time.
What makes this stage so important is what it prevents. Imagine installing new flooring only to discover subfloor damage from pests, or building an addition that crosses a boundary line. These are avoidable problems with the right early insight.
A practical way to approach this stage is to create a working document:
- List all identified issues
- Rank them by urgency (safety, structural, cosmetic)
- Note which require licensed professionals
- Estimate rough costs and timelines
This document becomes your renovation blueprint—not perfect, but far better than guessing.
Address Hazardous Materials That Put Your Health at Risk
Older homes often contain materials that were once common but are now known to be harmful. Before demolition or deep renovation begins, these risks must be addressed.
The two most common concerns are asbestos and lead. Both can be invisible threats, especially when disturbed.
Asbestos removal is critical if your home has old insulation, ceiling tiles, or flooring materials. The danger lies in airborne fibers released during demolition. This is not a DIY project—specialized containment and disposal procedures are required.
Similarly, lead removal becomes essential if your home was built before modern paint regulations. Peeling paint, sanding surfaces, or even minor renovations can release lead dust into the air.
Here’s the challenge: these materials often hide beneath layers of updates. A wall that looks modern may still contain older components underneath.
A smart approach includes:
- Testing suspect materials before demolition
- Hiring certified professionals for remediation
- Sealing off work areas to prevent contamination spread
- Scheduling this work before any other upgrades
Think of this stage as clearing the air—literally and figuratively. Once these hazards are removed, every other improvement becomes safer and more sustainable.Set featured image
Fix Structural and Roofing Issues Before Anything Else
If your home has structural weaknesses or roofing problems, everything else must wait. These are not optional fixes—they are the backbone of your renovation.
A damaged roof can quietly undo thousands of dollars in interior work. Water intrusion leads to mold, insulation damage, and compromised framing. Even small leaks can escalate quickly.
Bringing in a qualified roofer early helps identify whether repairs will suffice or if a full roof replacement is necessary. While repairs may seem cheaper upfront, older roofs often benefit more from a complete replacement, especially if multiple issues exist.
Look for warning signs like:
- Sagging rooflines
- Missing or curling shingles
- Water stains on ceilings
- Soft spots in attic wood
What many homeowners don’t realize is how interconnected the roof is with other systems. Ventilation, insulation, and even energy efficiency depend on a properly functioning roof.
It’s also about sequencing. Roofing should always be completed before interior work begins. Otherwise, you risk redoing finished spaces due to leaks or moisture damage.
This is one of those decisions where delaying action often costs more than addressing it head-on.
Upgrade Plumbing Systems to Prevent Future Damage
Plumbing is one of the most disruptive systems to fix after a renovation is complete. That’s why it’s crucial to address it early.
Older homes frequently have outdated pipes—galvanized steel, cast iron, or even lead—that are prone to corrosion, leaks, and reduced water pressure. These issues don’t just affect convenience; they can damage walls, floors, and foundations.
Experienced plumbing contractors can evaluate whether your system needs partial updates or a full replacement. In many cases, replacing old pipes before closing up walls is the most cost-effective choice.
Consider the long-term benefits of upgrading:
- Improved water pressure and reliability
- Reduced risk of leaks and water damage
- Better compatibility with modern fixtures
- Increased home value
There’s also an opportunity here to improve efficiency. Installing newer fixtures and rerouting plumbing can reduce water waste and lower utility bills.
A common scenario: a homeowner renovates a bathroom beautifully, only to experience pipe failure months later. The result? Tearing out finished tile and starting over.
Avoiding that outcome is as simple as prioritizing plumbing early.
Handle Exterior Safety Risks Around the Property
Not all renovation priorities are inside the home. The exterior environment plays a major role in safety and long-term stability.
Start by evaluating trees near the structure. Large or damaged trees can pose a serious risk during storms. In some cases, tree removal becomes necessary to prevent falling branches or root damage to the foundation.
Next, look at walkways, driveways, and other hard surfaces. Cracks, uneven sections, and deteriorating materials can create tripping hazards and drainage problems. Professional paving services can restore these areas while improving curb appeal.
This stage is about more than aesthetics—it’s about reducing liability and preventing accidents.
You might walk your property with a simple question in mind: “What here could cause harm?”
The answers often include:
- Overhanging branches
- Sloped or uneven walkways
- Loose stones or broken pavement
- Poor lighting in high-traffic areas
Addressing these issues early creates a safer environment for both workers and residents throughout the renovation process.
Secure the Property With Durable Boundary and Privacy Solutions
During a renovation, your property becomes a work zone. Materials are delivered, tools are left on-site, and multiple people may come and go. This makes security and privacy more important than ever.
Fence installation is often overlooked at the beginning of a project, but it can provide immediate benefits. It helps define boundaries, protect materials, and create a safer environment for pets or children.
Choosing the right type of fencing depends on your goals. Some homeowners prioritize privacy, while others focus on durability or aesthetics that match the home’s style.
Installing fencing early also prevents damage to landscaping later. It’s much easier to set posts and panels before planting gardens or laying sod.
There’s also a psychological element—having clear boundaries makes the property feel more organized and controlled, even in the middle of construction chaos.
Improve Drainage and Foundation Protection Early On

Water is one of the most destructive forces a home can face, especially an older one.
Poor drainage can lead to foundation cracks, basement flooding, and long-term structural issues. Unfortunately, these problems often go unnoticed until they become severe.
Walk around your home after a heavy rain. Do you see water pooling near the foundation? Are there areas where soil erosion is visible?
If so, it’s time to act.
Professional paving services can help correct grading issues, ensuring water flows away from the home instead of toward it. This may involve re-sloping surfaces, installing drainage channels, or updating driveway layouts.
In some cases, additional solutions like gutters, downspout extensions, or French drains may be necessary.
This stage isn’t glamorous, but it’s essential. A dry foundation supports every other improvement you make.
Eliminate Pest Entry Points Before Sealing the Home
Renovations often involve sealing gaps, adding insulation, and tightening the building envelope. But if pests are already present—or have easy access—this can trap problems inside.
Working with a local pest control company at this stage helps identify and eliminate entry points before the home is sealed up.
Common vulnerabilities include:
- Cracks in the foundation
- Gaps around windows and doors
- Openings in attic vents
- Roofline gaps or damaged soffits
Once identified, these areas can be properly sealed and reinforced.
This step is especially important before installing insulation or drywall. Otherwise, you risk creating a comfortable environment for pests within your newly renovated walls.
It’s a small investment that protects much larger ones.
Plan Exterior Improvements That Support Long-Term Efficiency
Once major risks are addressed, it’s time to think about how your home performs over time.
Exterior improvements play a significant role in energy efficiency. Roofing, insulation, and ventilation all work together to regulate temperature and reduce energy costs.
Consulting with a roofer during this phase can help you optimize these systems. In some cases, a roof replacement may improve not just durability, but also insulation performance and ventilation flow.
This is also an opportunity to coordinate upgrades. For example, pairing roofing work with insulation improvements or siding updates can reduce labor costs and streamline the process.
Think of your home as a system rather than a collection of parts. When these elements work together, the benefits multiply.
Finalize Interior Fixes After Major Systems Are Updated
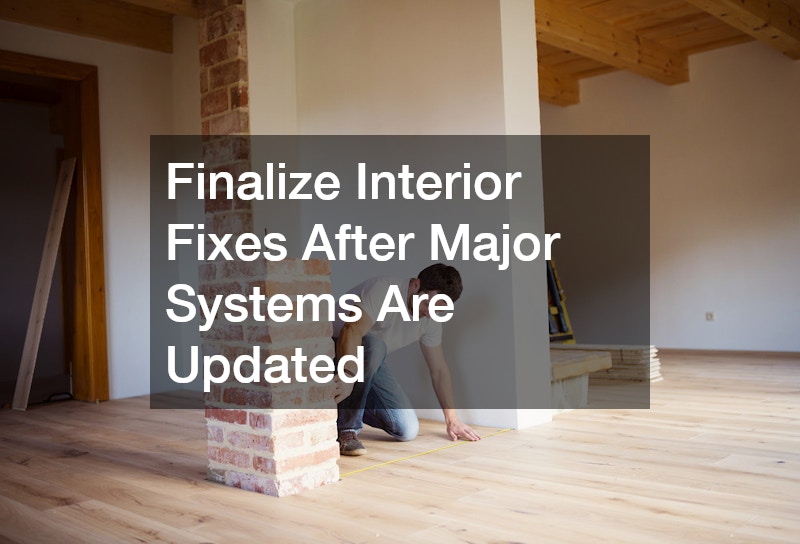
By the time you reach this stage, the heavy lifting should be done. Structural issues are resolved, systems are updated, and the exterior is secure.
Now comes the rewarding part—interior improvements.
This includes everything from flooring and cabinetry to paint and lighting. But even here, sequencing matters.
Before closing up walls, ensure plumbing contractors have completed all necessary rough-ins. It’s much easier to adjust pipes or wiring at this stage than after finishes are installed.
Interior work often overlaps with exterior upgrades. For example, completing fence installation around the same time can help define outdoor living spaces that complement interior design choices.
There’s also a shift in mindset here. Earlier stages are about prevention and protection. This stage is about comfort and personalization.
Take your time with these decisions. After all the groundwork you’ve laid, the final result should reflect both your style and the home’s renewed integrity.
Additional Considerations That Can Save Time and Money
Even with a well-structured renovation plan, there are smaller decisions that can have a surprisingly large impact on your timeline and budget. These are often overlooked because they don’t fall neatly into one category, but they can make the entire process smoother.
One of the most valuable habits is documenting everything as you go. Take photos before, during, and after each phase. This creates a visual record that can help with future repairs, insurance claims, or even resale conversations. It also helps you track progress when the project starts to feel overwhelming.
Another often underestimated factor is permit planning. Older homes may not meet current codes, which means certain upgrades will require approvals. Delays in permitting can stall an entire renovation, so it’s worth researching requirements early or working with professionals who handle this regularly.
It’s also helpful to build a buffer into both your budget and your timeline. Unexpected issues are almost guaranteed with older homes. A hidden leak, outdated wiring, or structural surprise can shift priorities quickly. Having extra resources set aside allows you to adapt without derailing the entire project.
Communication plays a major role as well. If you’re working with multiple contractors, make sure everyone understands the sequence of work. Misalignment here can lead to rework, delays, or unnecessary costs. A quick weekly check-in—even informal—can keep everything moving in the right direction.
Finally, remember that not every upgrade needs to happen at once. A phased approach often leads to better results. Once the essential fixes are complete, you can take time to plan the next stage more thoughtfully rather than rushing decisions.
These smaller strategies may not be as visible as a new kitchen or roof, but they often make the difference between a stressful renovation and a well-managed one.
Closing Perspective on a Smarter Renovation Process
Renovating an older home is as much about patience as it is about vision. The temptation to focus on visible upgrades is strong, but lasting results come from addressing what lies beneath.
By tackling safety concerns, structural issues, and essential systems first, you create a solid foundation for everything that follows. Each step builds on the last, reducing risk and increasing the value of your investment.
In the end, a well-planned renovation doesn’t just transform a house—it restores confidence in the space you call home.